6 Smart Tips for Checking Baggage (Plus fees & what's allowed)
Before diving into all the rules and restrictions for checking in your baggage, let me share some tips that have really helped me navigate the process over the years.
1. Choose Wisely
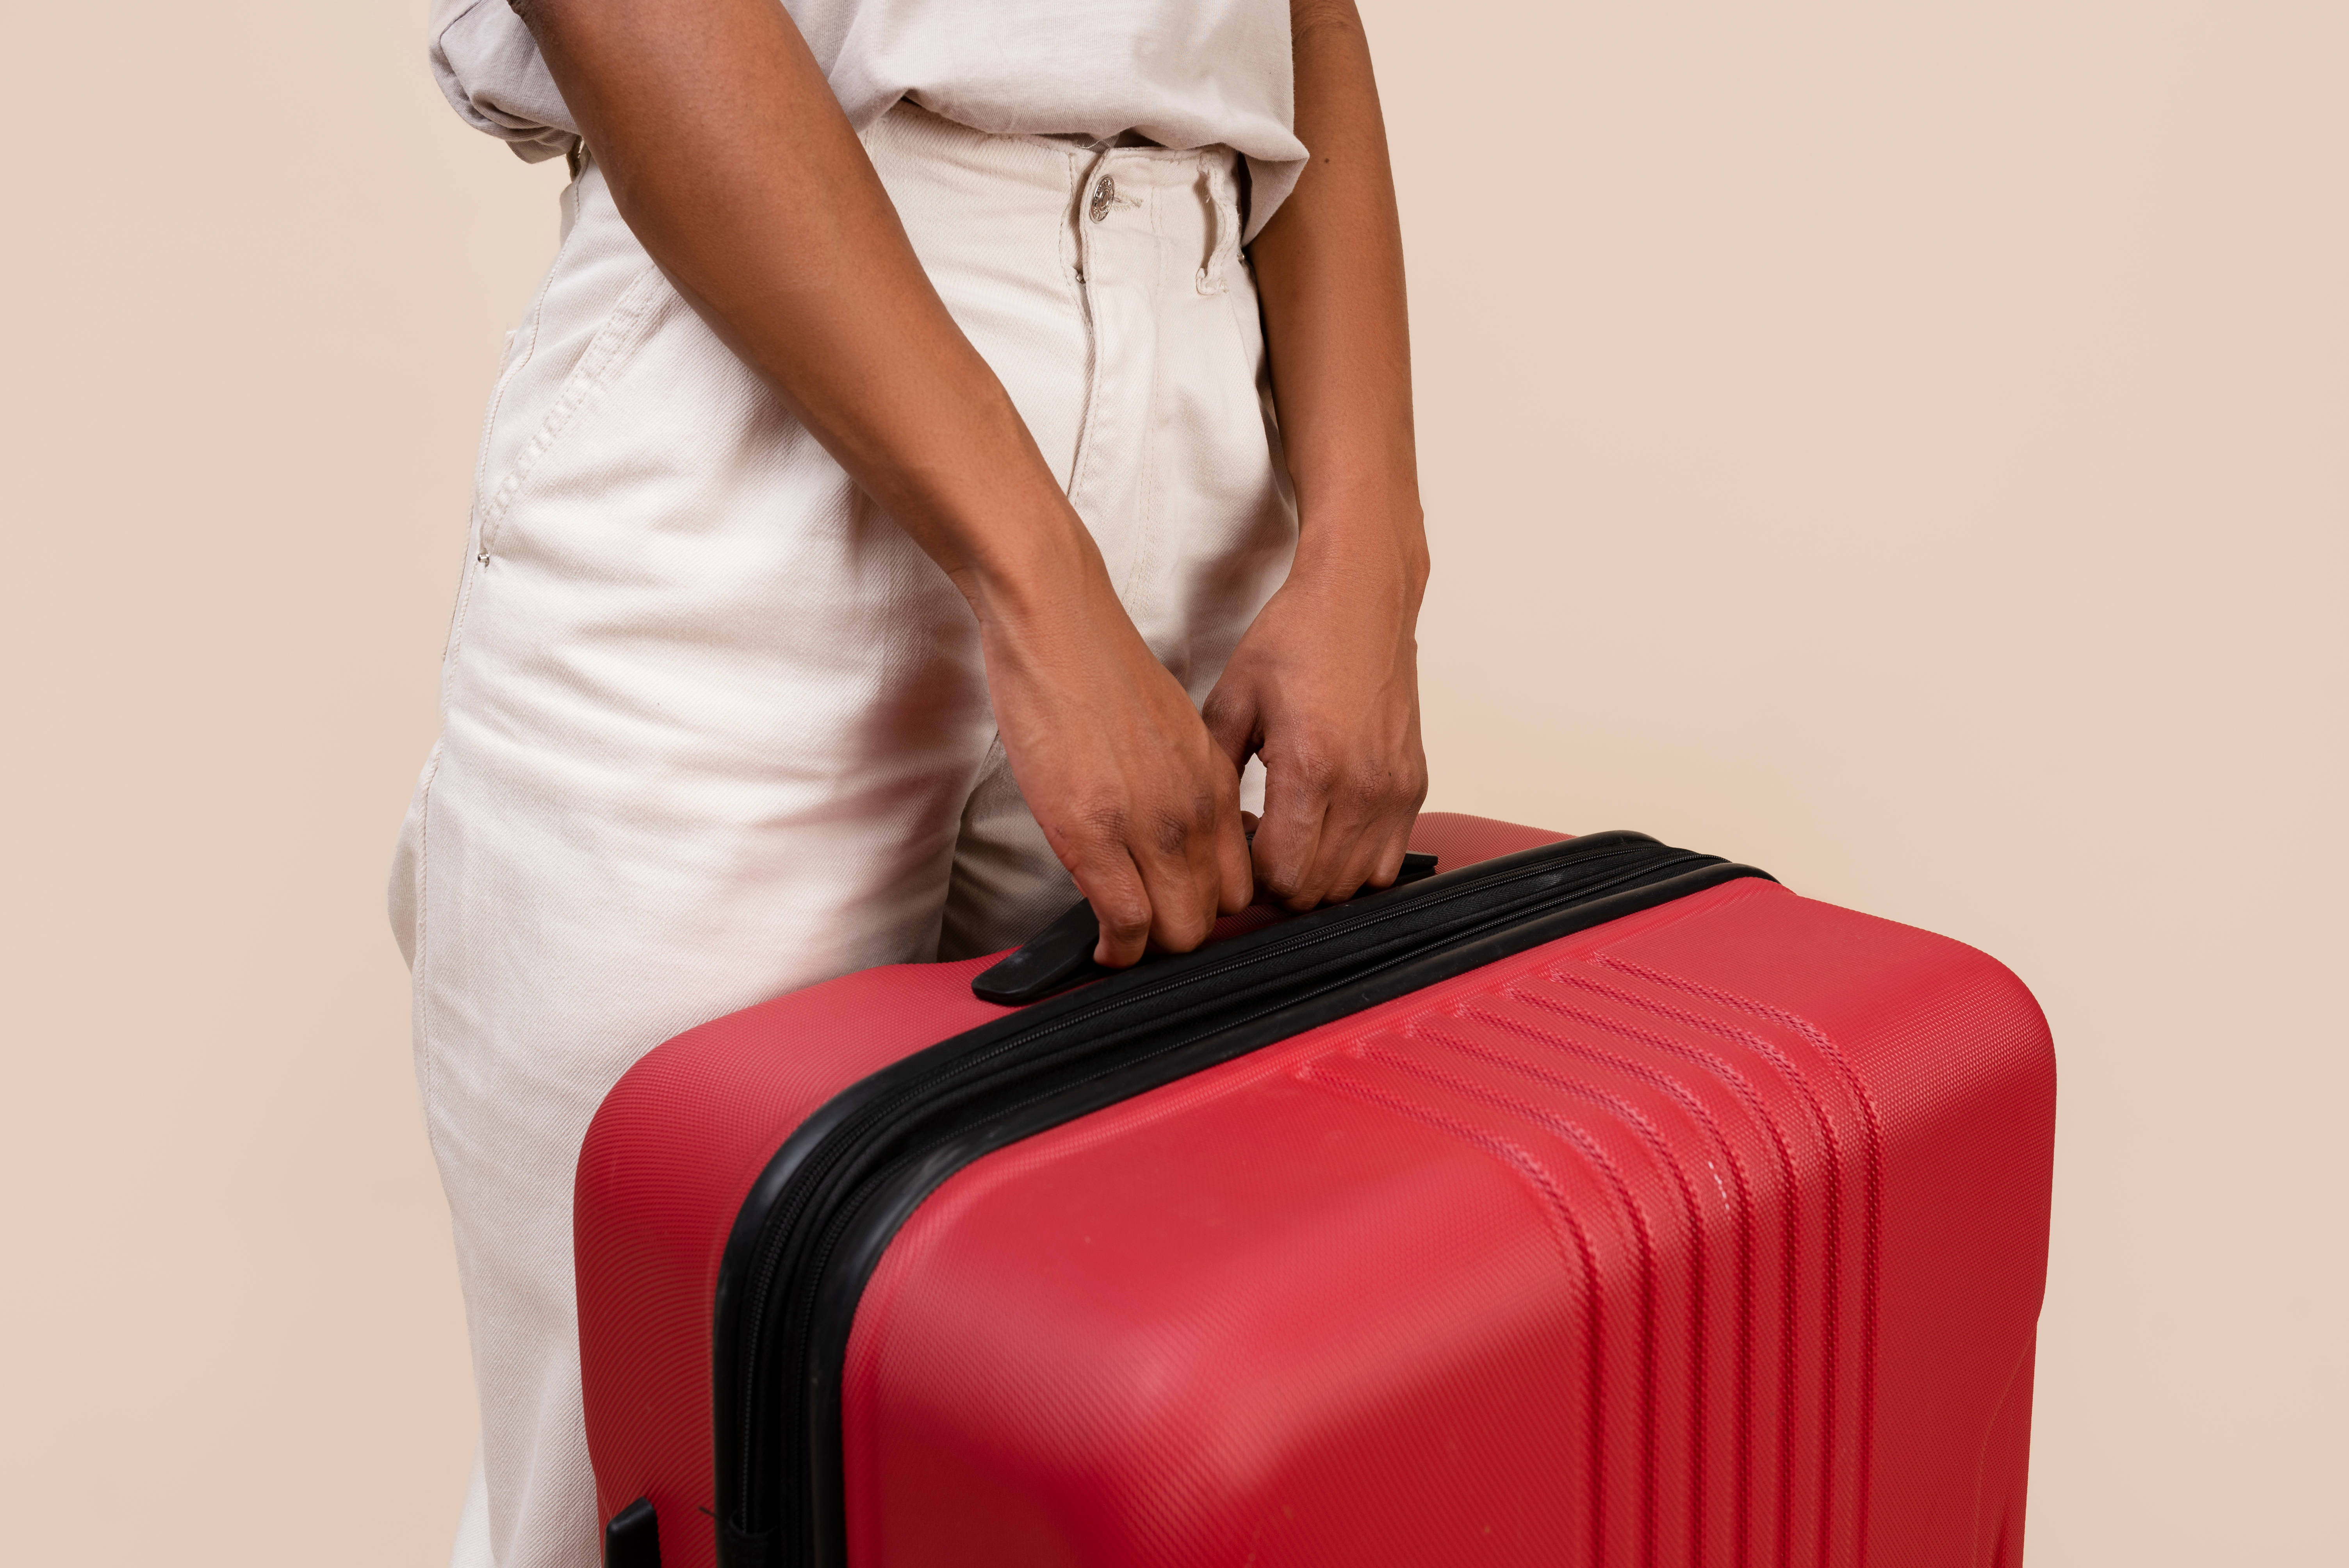
I’ve learned the hard way that packing smart is crucial when it comes to checked baggage. Extra baggage fees can add up quickly, so I always weigh my bag after packing with a handy luggage scale. If it’s over the limit, I’ll remove items that I know I can live without. Versatile clothing is key—I focus on items that can be mixed and matched, which saves both space and money.
2. Go through the Rules Carefully
I make it a point to familiarize myself with the baggage rules and restrictions for each airline before I fly. Trust me, each carrier can have slightly different regulations, and being caught off-guard at the check-in counter is no fun. If I’m unsure about any item, I contact the airline directly to get clarification. Staying informed has saved me from unnecessary fees and stress more times than I can count.
3. Carry Valuable Items in Your Carry-On
One of my golden rules is to never pack valuable or sensitive items like my laptop, camera, or jewelry in my checked baggage. I’ve heard too many horror stories about damage or theft. Keeping these items in my carry-on ensures they stay safe, and I also have quick access to my medications or personal supplies during the flight.
VIDEO:Have you ever found yourself anxiously waiting at baggage claim, only to realize your luggage didn't make it? I certainly have, and it was an experience I never want to repeat. That's why I was thrilled to discover this video on the "Top 10 Things You Should Never Do When Checking a Bag." In this insightful guide, Ben shares essential tips to avoid common pitfalls and ensure your checked luggage arrives safely and intact. From not packing valuables to avoiding tight connections, this video is packed with practical advice that has made my travels much smoother. Don't miss out—watch the video below and travel smarter on your next trip!
4. Put Your Information Inside as Well as Outside Every Bag
I always label my luggage inside and out with my name, address, and phone number. This simple step has proven invaluable, especially when a tag gets ripped off during transit. Having that extra label inside the bag makes it much easier for the airline to reunite me with my luggage if it gets misplaced.
5. Secure Your Bags
Security is important to me, so I always use TSA-approved locks on my bags. This way, TSA agents can inspect my luggage without breaking the lock. For added security, I sometimes use zip ties, which are easy to cut off if necessary.
6. Use Sturdy and Waterproof Bag Tags
I’ve learned to invest in sturdy, waterproof bag tags with opaque covers. Not only do they protect my personal information from prying eyes, but they’re also less likely to get torn off during handling. Durable tags have made a big difference, especially when traveling in bad weather.
Airline Checked Baggage Regulations
Baggage check is a standard service offered by all commercial airlines, and I’ve used it countless times to drop off my bags before going through security. Depending on the airline, you can check your bags at the departures curb, known as ‘curb-side baggage check-in,’ or at the ticketing counter. After check-in, the airline takes over and stores your bags in the cargo hold for the duration of the flight.
I’ve also noticed that airlines are pretty strict about carry-on size and weight limits. If my carry-on exceeds these limits, it has to be checked, which I don’t mind since it keeps the cabin from getting too crowded and makes boarding and disembarking quicker.
Size & Weight Limits of Checked Baggage
Over the years, I’ve learned that each airline has its own size and weight limitations for checked baggage, and exceeding these can result in additional fees.
Before packing, I always check my airline’s baggage rules and fees, either on their website or by selecting my airline from this page. Here are some general guidelines I follow:
- Weight Limits: For both international and domestic flights, the maximum weight for checked baggage is usually 32 kilograms (70 pounds). Anything heavier may not be accepted.
- Size Limits: The standard dimensions I stick to are 22 inches (56 cm) in length, 10 inches (25 cm) in depth, and 18 inches (45 cm) in width. This includes wheels, handles, and side pockets.
- Excess Baggage Fees: If I exceed the free baggage allowance provided with my ticket, I’m prepared to pay an excess baggage fee.
Checking In Your Luggage
When I arrive at the airport check-in desk, I make sure to have all my documentation ready. Depending on my destination, the airline agent will ask for my tickets, passports, visas (if required), and other relevant documents.
After presenting my documentation, I hand over my luggage, which is then weighed by the agent. If my baggage exceeds the allowed limits, I pay any applicable fees right there. The agent attaches baggage destination tags to each item—this is crucial in case my luggage is misplaced or lost.
What Happens to Baggage upon Checking
After my baggage is checked and tagged, it’s transported by conveyor belt into the airport’s baggage system, where it’s scanned by the Transportation Security Administration (TSA) or an equivalent international authority. If the scan raises any concerns, agents have the right to open and inspect my bag.
Once my luggage passes inspection, it’s taken to the aircraft and loaded by ramp agents who ensure it gets onto the correct plane. At many airports, automated scanners sort bags and direct them to the appropriate gate.
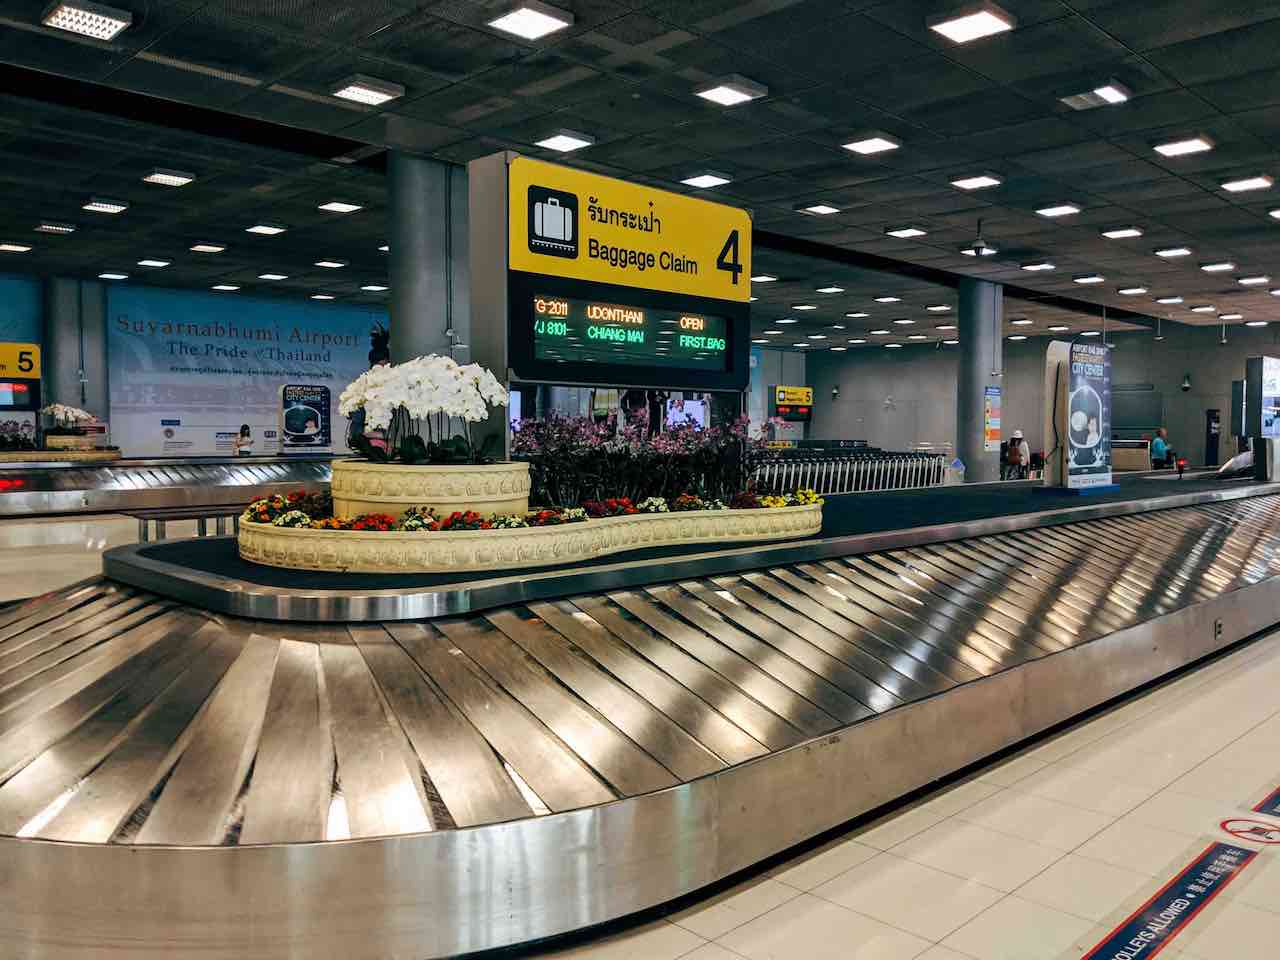
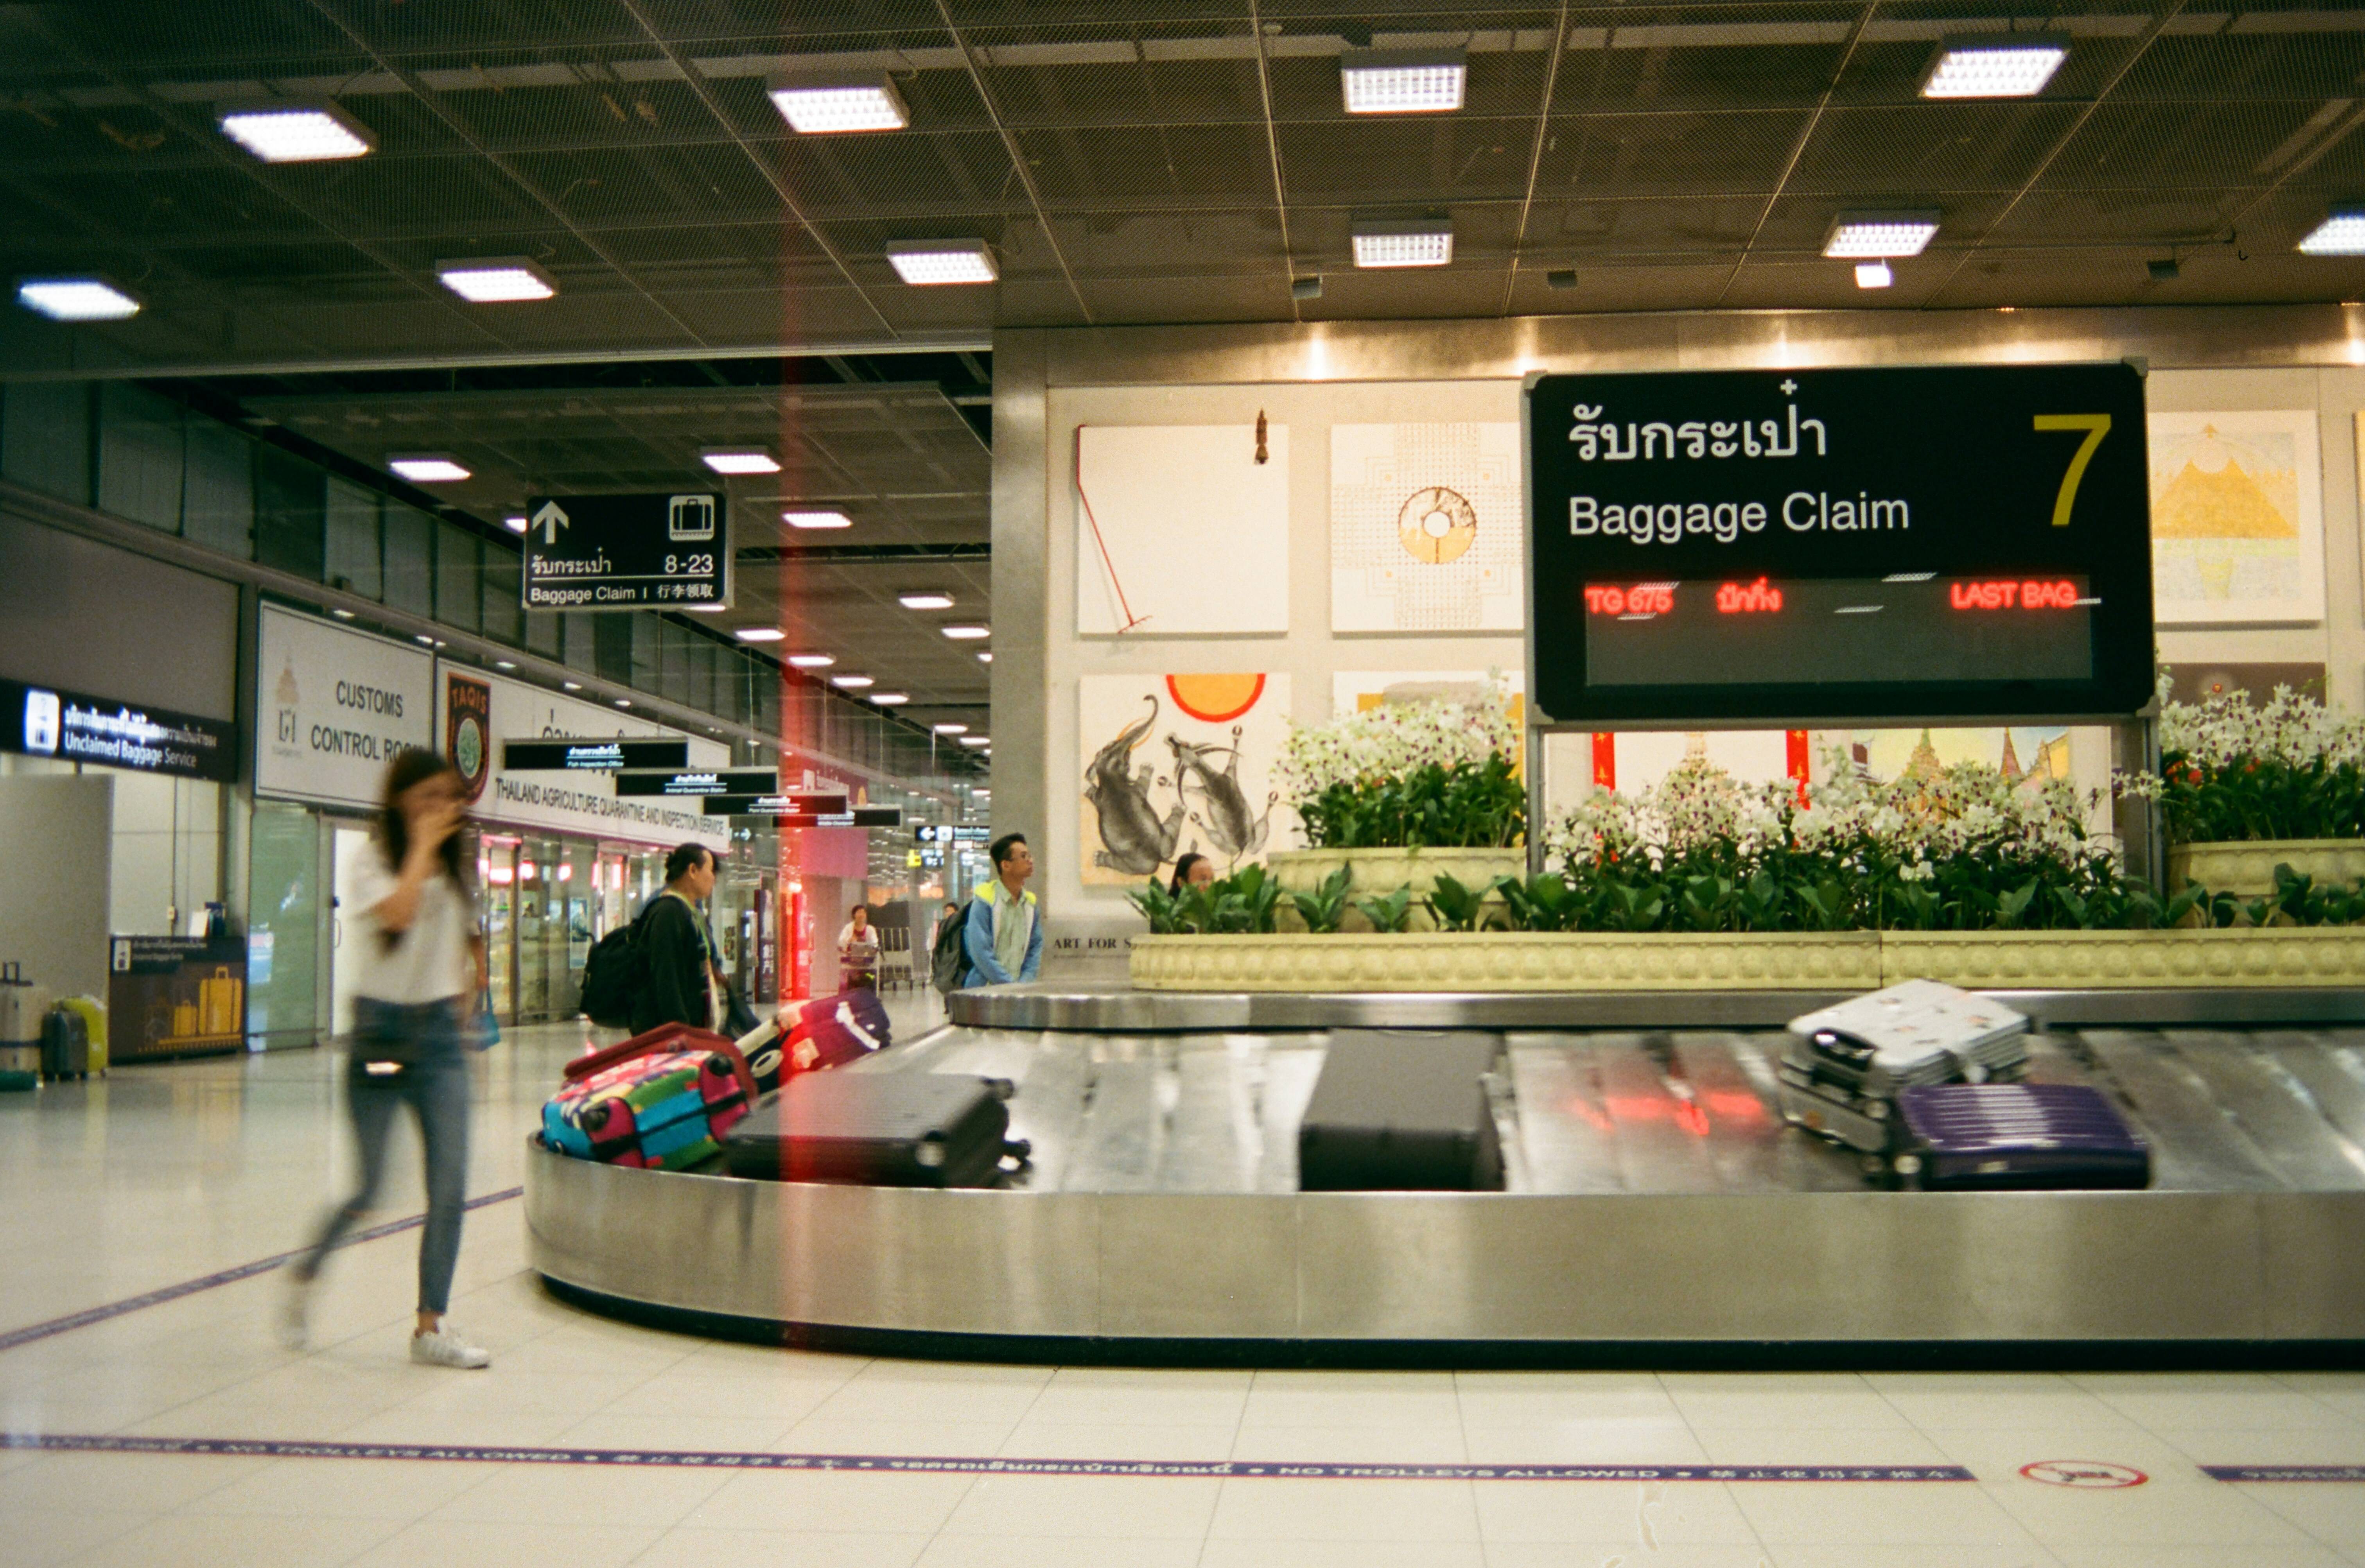
Upon arrival at my destination, my baggage is unloaded and transported to the baggage claim area. I can usually find my flight’s assigned carousel by using the Flight Tracker and entering my flight number. Once the bags arrive at the carousel, I collect my luggage and continue on with my journey.
READ MORE: Is it really ok to lean your seat back?
FAQ: Smart Tips for Checking Baggage
Find more help here for your journey through the airport


